This article will help you define the essential operating rules for your store step by step. To go further in the Store settings and customise your storefront, we recommend the following article.
Store settings will apply to all your customers. You can then customise price levels, storage locations or product selection for each individual customer.
B2B Store Initialisation > Settings > Setup
1. B2B Store configuration
The URL is the browser link that allows your customers to access your B2B store. Example: https://yourb2bstore.erplain.app
Note that when you invite your customers to use your store, the invitation email will include the URL.
You can also include your Google Analytics ID if you need to obtain reports on your store's usage.
If you do not wish to allow your customers to place orders, you can turn the Store into a simple catalogue. You can also hide the order and invoice history, which is visible by default on your customers' Store.
You can then add a support email address and phone number. These will be displayed when clicking on the question mark at the top of the Store page.
2. Product configuration
In this section, you can select the product categories (Tags, Brands and Seasons) you wish to make available for the B2B Store by default.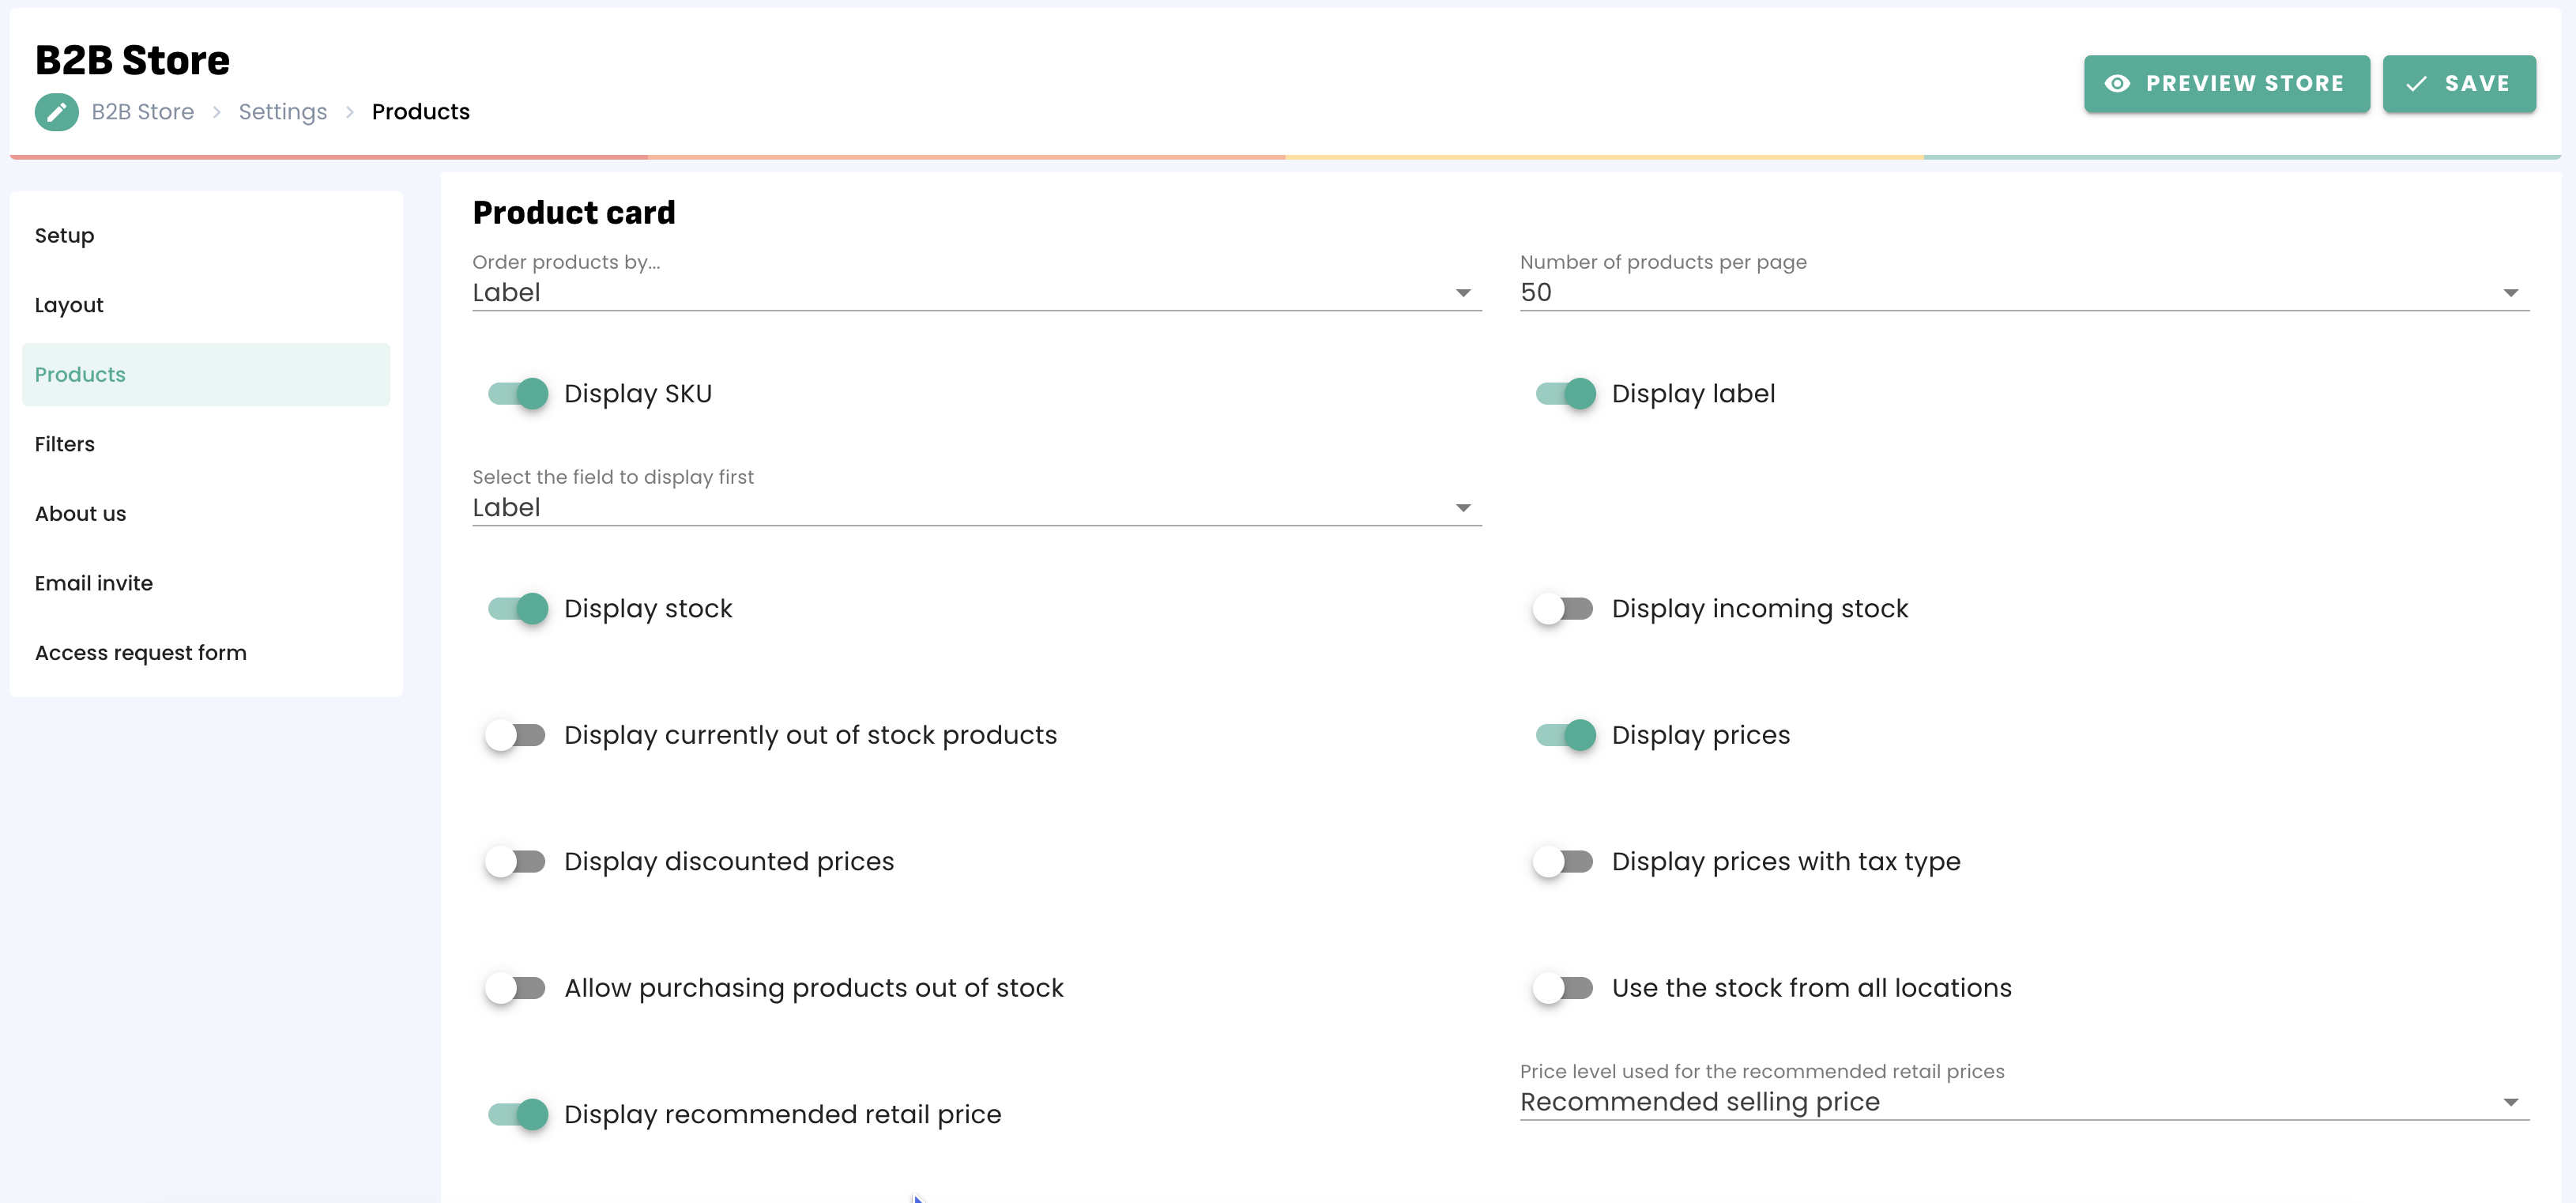
You can choose whether or not to display:
- Available stock
- Incoming stock
- Out-of-stock products
- Prices excluding or including tax
- The recommended retail price of each item
Other options are also available, such as:
- Allow the sale of out-of-stock products
- Use stock from all storage locations
Note: In addition to selecting these categories, you will need to push your product selection to the Store. This is done directly from the product list. You will find further information on this selection in the dedicated article.
3. Order default values
These default values will only apply if you have not selected a price level, storage location, tax type or tax in the customer profile. Customer profile values take priority over these settings.
Shipping costs can be applied based on the last known amount for each customer. If the option shown below is inactive or if no history exists, the shipping costs associated with your sales location will apply.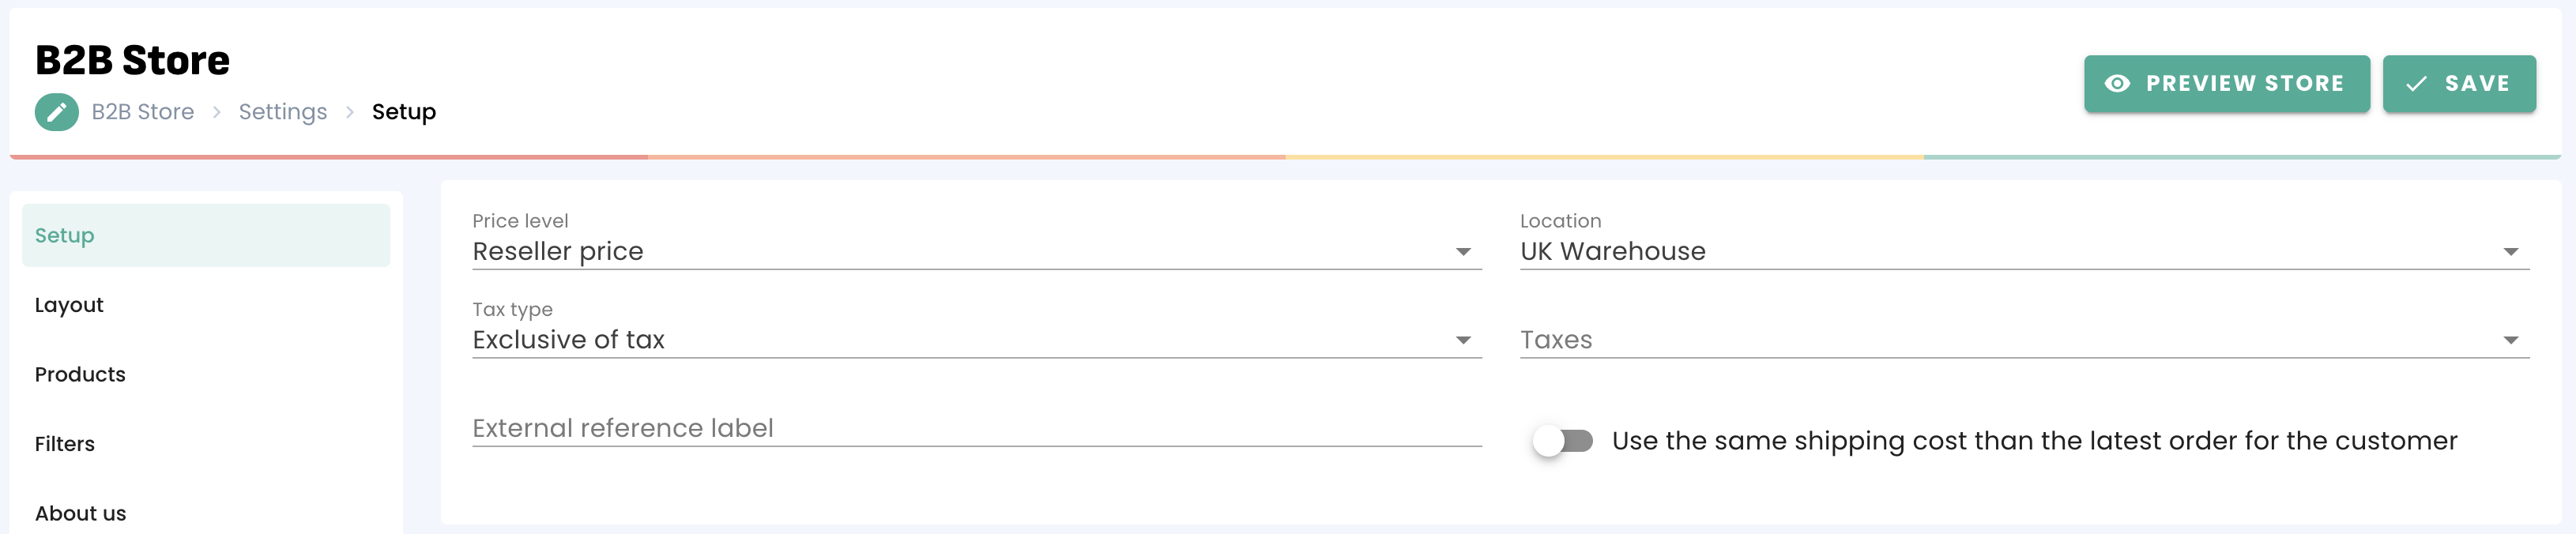
4. Order confirmation
Define order validation and invoice creation rules. Orders can be automatically validated by Erplain, without any action on your part. The same applies to invoice creation.
Finally, set up a confirmation email template. This can be sent automatically to your customers each time an order is validated. To do this, first create your email template for purchase orders from the settings menu.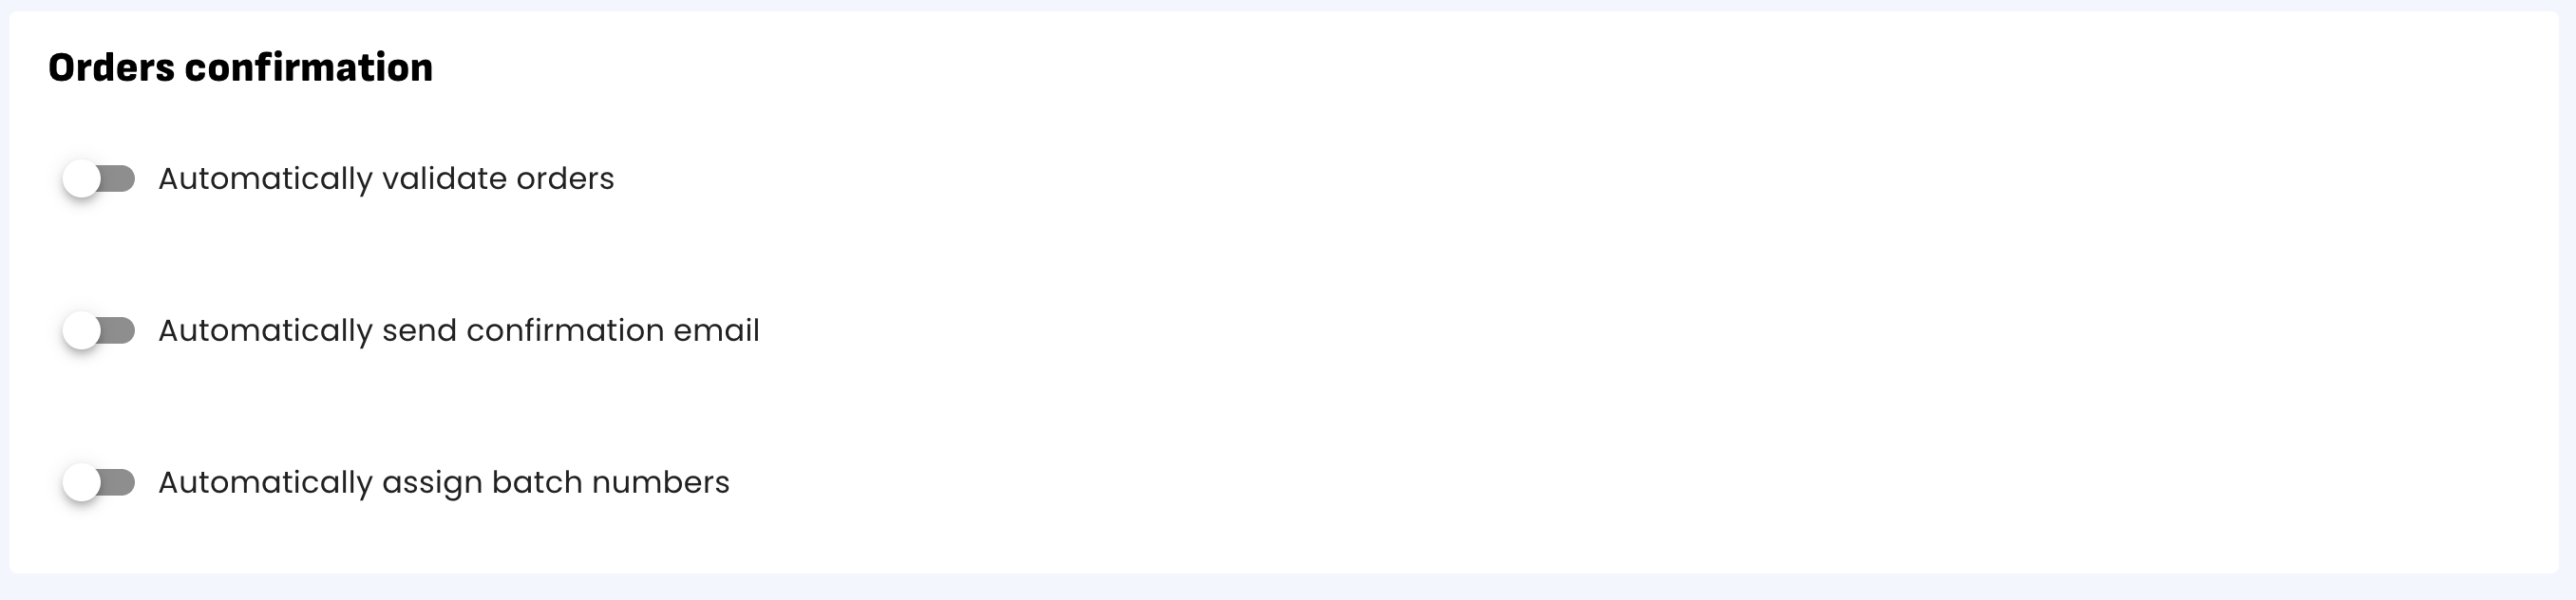
To further customise your storefront, we recommend the following article.
Was this article helpful?
That’s Great!
Thank you for your feedback
Sorry! We couldn't be helpful
Thank you for your feedback
Feedback sent
We appreciate your effort and will try to fix the article